How to Create Stunning Digital Mood Boards Like a Pro

Welcome! In this guide, we'll walk you through the easy step-by-step process of creating digital mood boards like a pro. Get ready to unleash your creativity and have some fun along the way!
Table of contents
1. Gather Inspiration

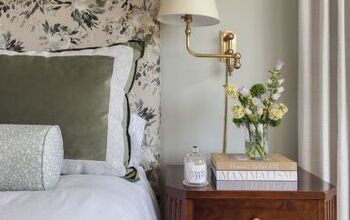
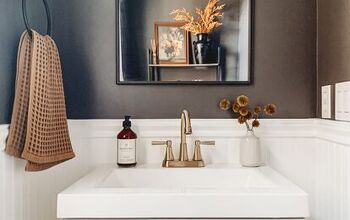
The first step is to collect visuals that resonate with your vision. This could include photos, color swatches, or texture samples. Here's an example: Imagine you're designing a bedroom with earthy tones inspired by nature, featuring woodland colors and a silk scarf that captures those lovely hues.
2. Organize Your Inspiration

Create a specific folder on your desktop to store an array of furniture, material, and accessory images you'll use later for your digital mood board.

3. Finding Inspiration Online
Now, let's explore some popular websites! Let's say you're designing a bedroom. Head over to websites like Crate and Barrel, West Elm, or even Amazon to find furniture and accessories that suit your vision. Save any images that catch your eye, keeping in mind the overall feel you're going for.
Some websites might not allow saving images in the desired format. In such cases, you can use a Snipping Tool or a Print Screen function, depending on whether you're using a PC or a Mac.

4. Building Your Digital Mood Board
For this step, we'll be using a program called Canva. You can use the free version, but a premium subscription offers additional features.

- Creating a New Design: In Canva, click on "Create a Design" and then select "Presentation mode." This will open a blank page where you'll build your mood board.

- Uploading Images: On the sidebar, you'll see functions like "Elements" and "Upload." Here, you can upload images from your designated folder or drag and drop them directly onto the page.
5. Mood Board Layering
Just like a room, a mood board needs to be built from the ground up.
- Adding a Floor: Canva offers built-in elements and images you can use. Click on "Elements" and type "flooring" to find options. Choose an image that creates a realistic look, considering factors like angles and lighting.

- Editing Images: Canva allows you to edit uploaded images. You can use the Eraser tool to remove unwanted elements. For example, if the industrial lights in your chosen floor image clash with your mood board's vibe, you can simply erase them.

- Adjusting Colors: Canva also lets you adjust image colors. Play around with temperature and tint to achieve the desired look. You can even create a rectangle over a specific area and fill it with a color of your choice, essentially "painting" a wall virtually.

6. Adding Furniture
Now, let's layer in the furniture!
- The Focal Point: Start with the bed as it's the focal point. If the background in your chosen bed image is distracting, remove it using the Background Remover tool (a premium feature).

- Arranging Furniture: Use the layering tool to bring certain elements forward or backward. Experiment with different layouts until you achieve a balanced composition.

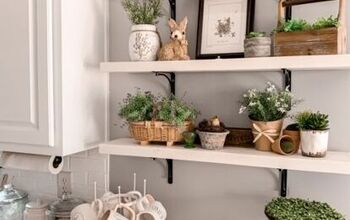
- Adding Accessories: Once the furniture is in place, incorporate accessories like lighting, bedding, plants, and more. Let your creativity flow as you arrange and organize these elements.


Conclusion
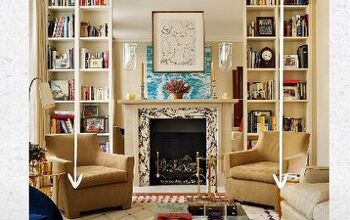
Digital mood boards are a fantastic tool for visualizing your design ideas. They allow you to experiment, refine your vision, and guide you as you source materials and furniture.
So, grab your favorite beverage, unleash your creativity, and have fun creating stunning digital mood boards!


Comments
Join the conversation